Beardie Bliss: A Step-by-Step Guide to Building a Plywood Bearded Dragon Enclosure
What is a Plywood Bearded Dragon Enclosure?
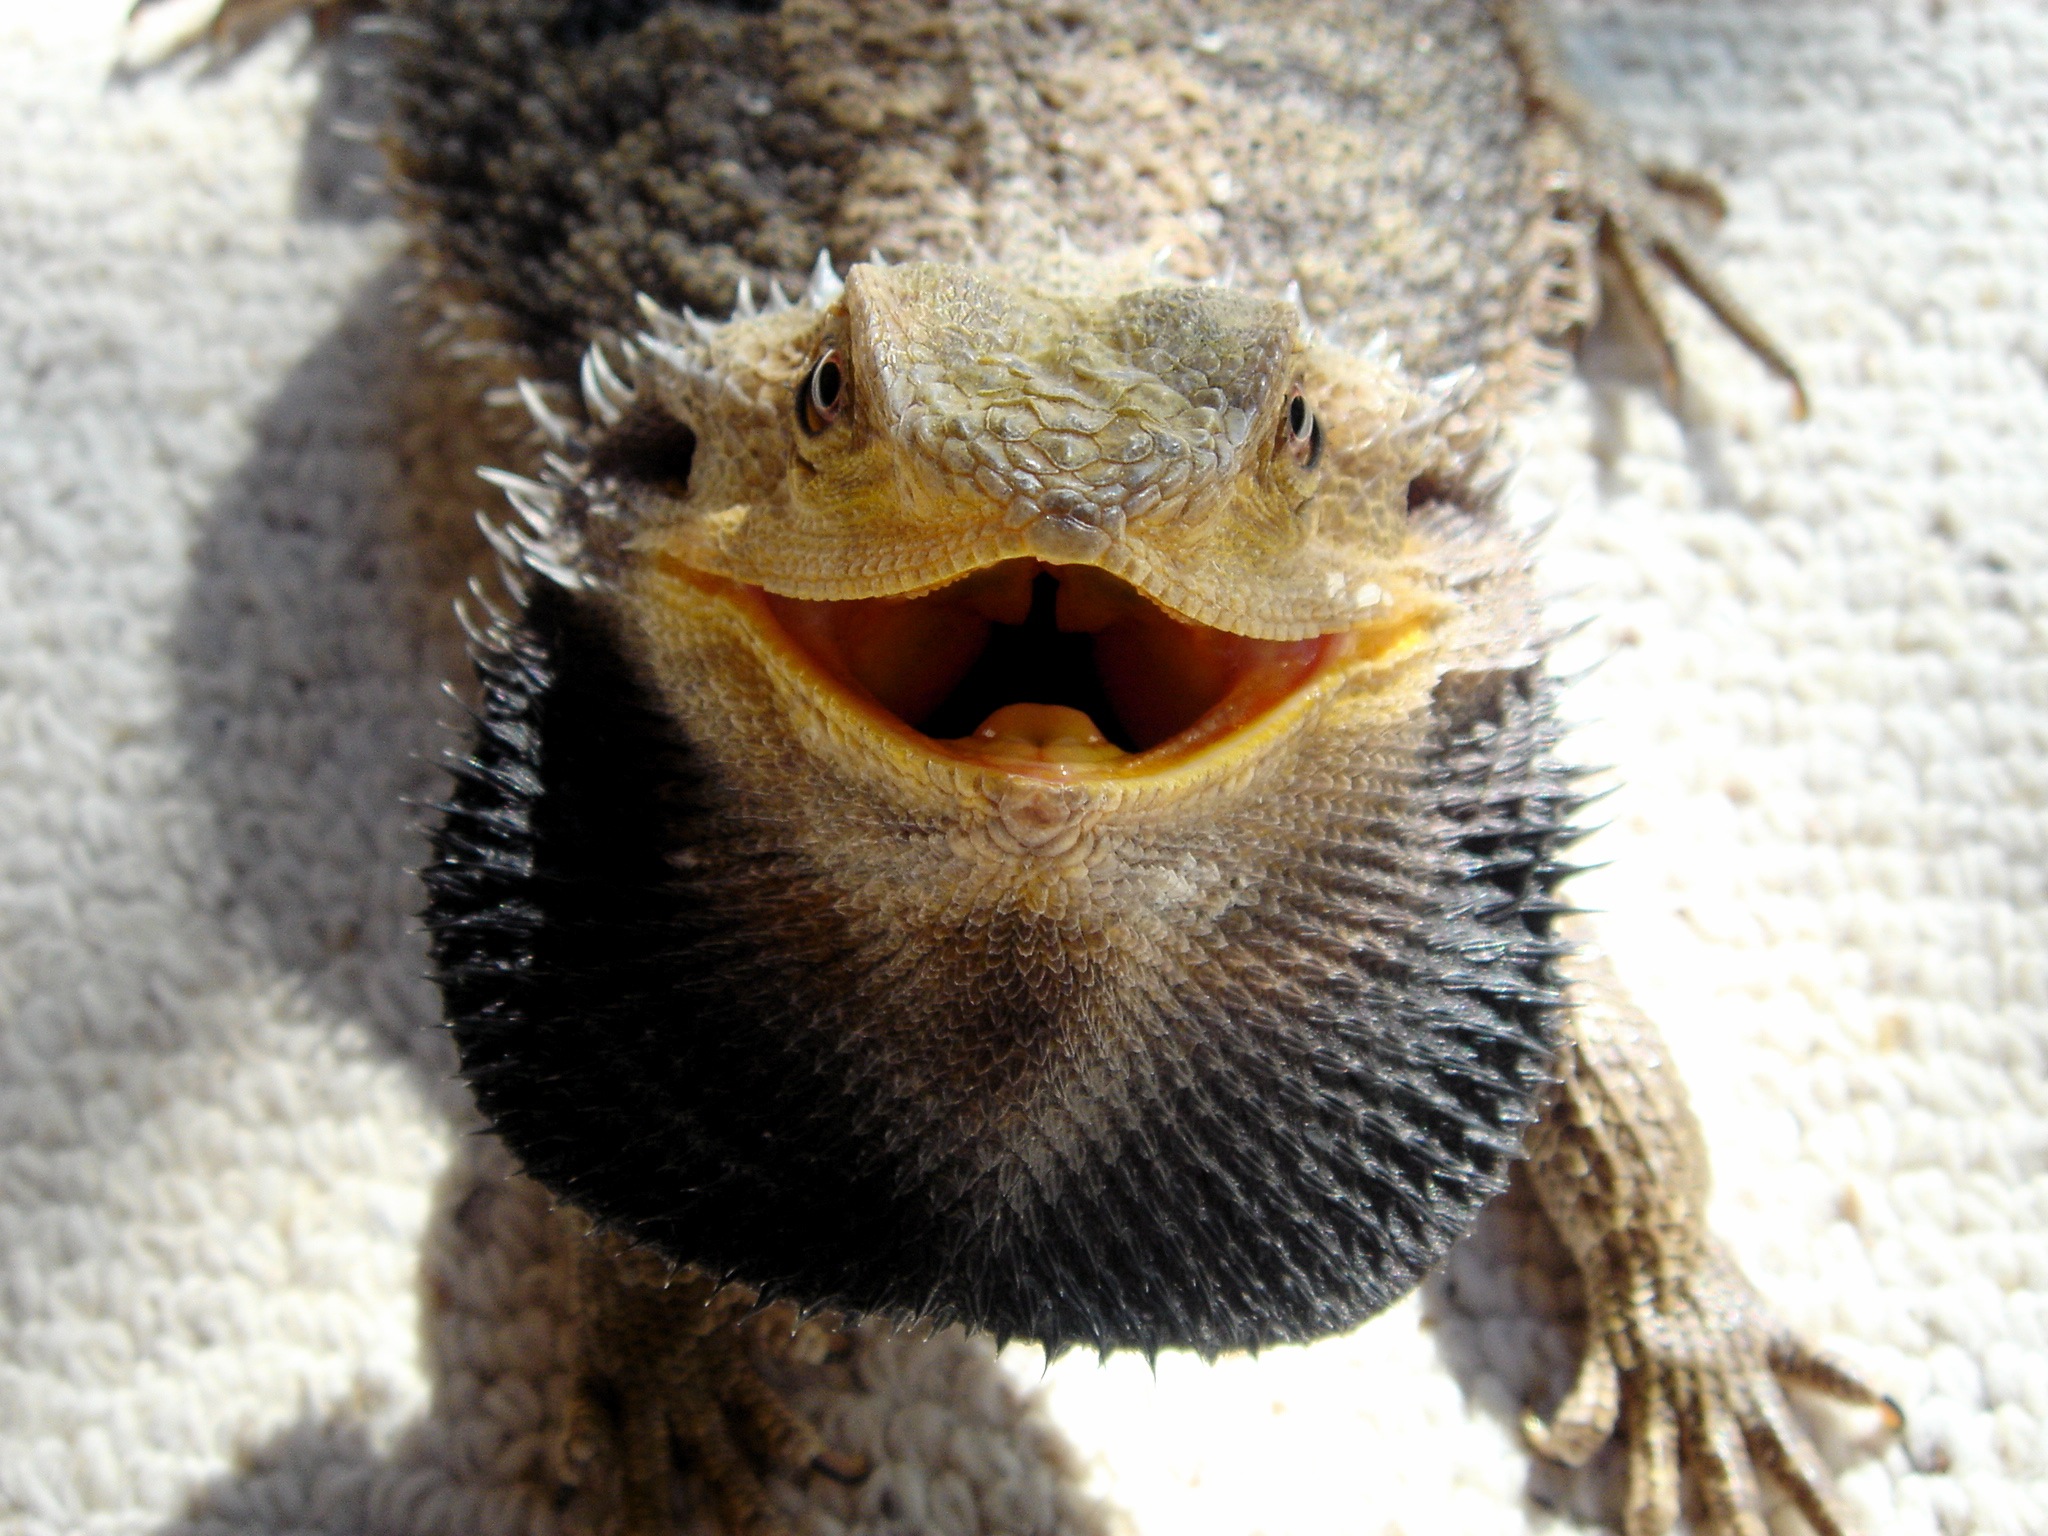
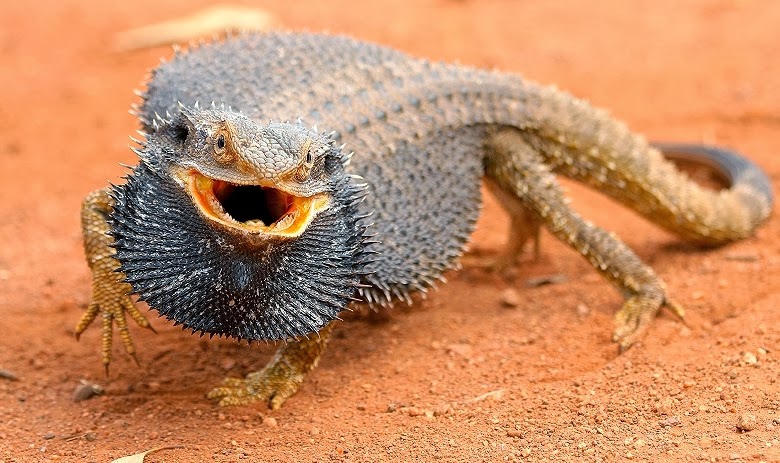
As an owner of a bearded dragon, you want to provide the best possible living conditions for your scaly friend. That starts with finding the right enclosure to keep them safe, healthy, and comfortable. While there are many types of reptile enclosures available, one option that stands out is a plywood bearded dragon enclosure.
A plywood bearded dragon enclosure is exactly what it sounds like: an enclosure made out of plywood. This type of enclosure is popular among bearded dragon owners for several reasons. First, plywood is relatively inexpensive, making it an affordable option for those on a budget. Second, it is a great insulator, which means it can help maintain a consistent temperature and humidity level in the enclosure. Finally, it is easy to work with and customize, which allows you to create an enclosure that perfectly meets your pet’s needs.
Step One: Gather Your Materials
Before you can start building your plywood bearded dragon enclosure, you need to gather all the necessary materials. Here’s a list of what you’ll need:
- Plywood sheets
- Screws
- Staple gun
- Hinges
- Latches
- Heat lamp
- UVB light
- Substrate
- Decorations
- Thermometer
- Hygrometer
- Basking spot
- Water dish
Step Two: Design Your Enclosure
The next step is to design your enclosure. Consider the size of your bearded dragon and make sure the enclosure is large enough for them to move around freely. You’ll also want to create an enclosure that has areas for basking, hiding, and climbing. Don’t forget to make sure there is plenty of room for furnishings like water dishes and decorations. Once you have a design in mind, it’s time to start building.
Step Three: Cut the Plywood
Using the measurements from your design, cut the plywood sheets into the necessary pieces for the enclosure. Use a saw to make clean cuts and sand any rough edges to prevent injury to your bearded dragon.
Step Four: Assemble the Enclosure
Once you have all the pieces cut, it’s time to assemble the enclosure. Using screws, attach the sides of the enclosure to the base. Then, attach the top of the enclosure using hinges so that the top can be opened when needed. Finally, attach latches to keep the top securely closed.
Step Five: Install Lighting and Heating
Next, you’ll want to install lighting and heating components. Bearded dragons need both heat and UVB light to stay healthy, so make sure you have a heat lamp and UVB light installed. Position the heat lamp over a designated basking spot where your bearded dragon can get up close to it and warm themselves. Make sure you have a thermometer and hygrometer to monitor the temperature and humidity levels in the enclosure.
Step Six: Add Substrate and Furnishings
Once the enclosure is built and the lighting and heating are installed, it’s time to add substrate and furnishings. Choosing the right substrate is important for your bearded dragon’s health, so do some research to find out which one is best for your pet. Also, add decorations and furnishings like rocks, branches, and hides to create a comfortable and stimulating environment for your bearded dragon.
Step Seven: Enjoy Your New Enclosure
Congratulations! You’ve successfully built a plywood bearded dragon enclosure. Now, it’s time to sit back and enjoy watching your bearded dragon explore their new home.
.jpg "plywood-bearded-dragon-enclosure-01.jpg")


