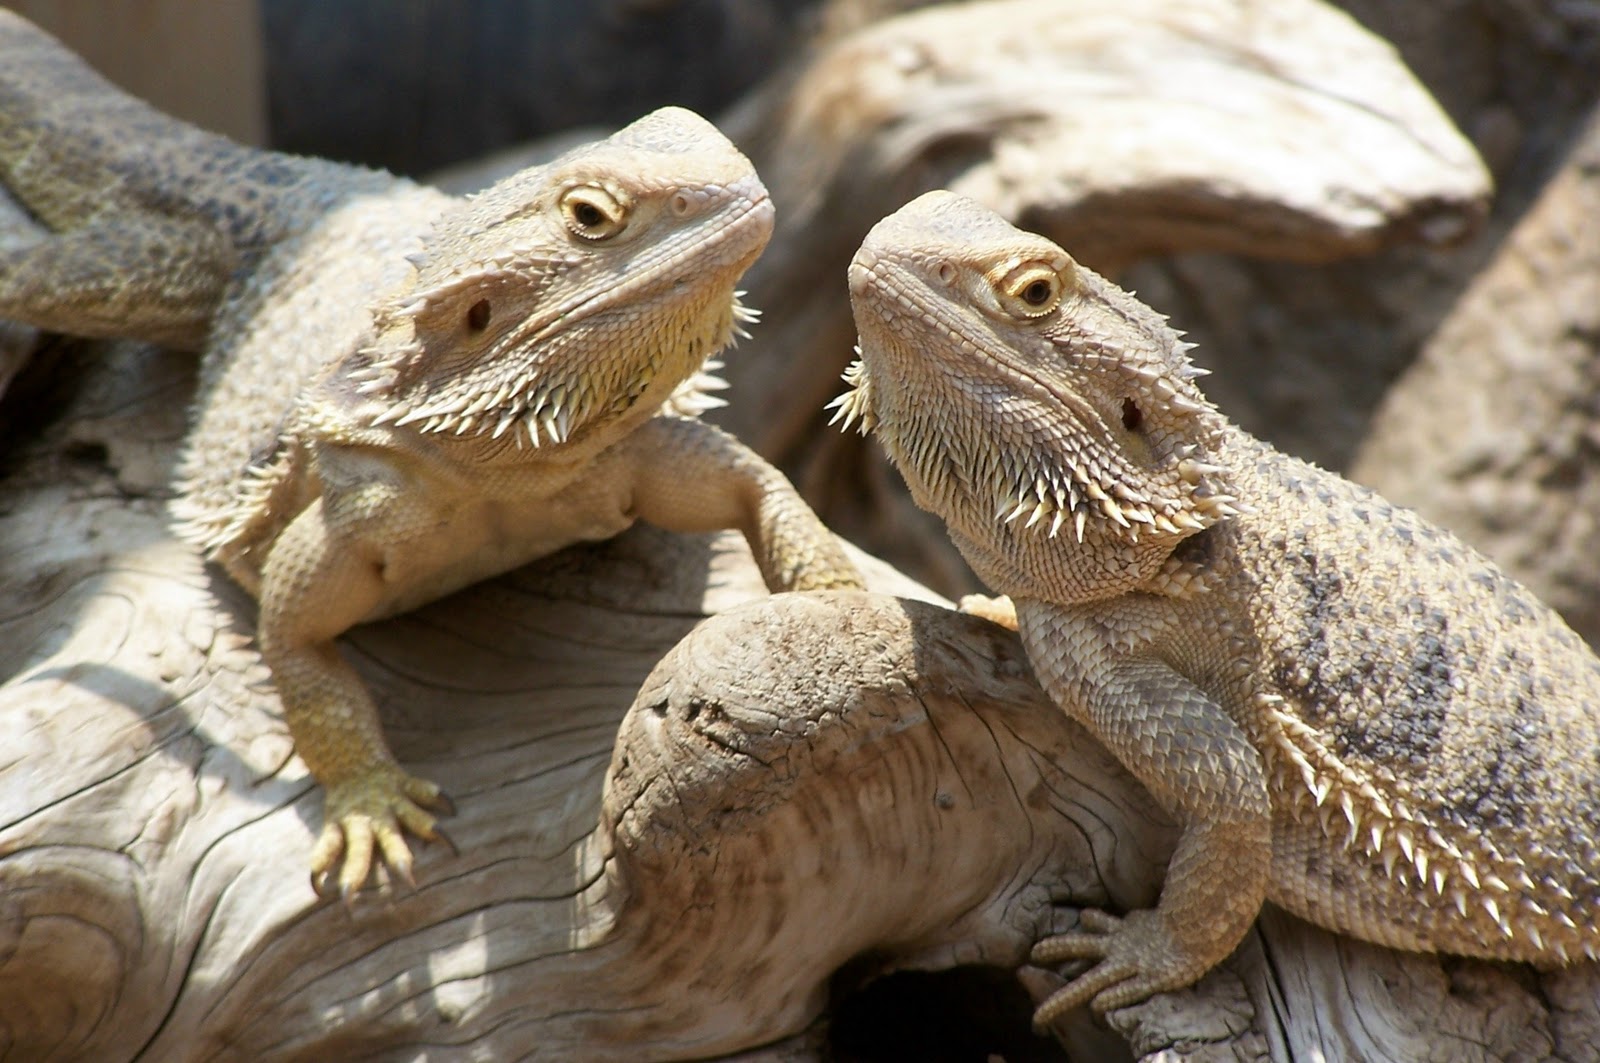
Building a Perfect Wooden Enclosure for Your Bearded Dragon: Beginners Guide
Introduction
Bearded dragons are fascinating reptiles that are easy to handle, relatively affordable, and require minimal care. If you’re a beginner, building a wooden enclosure for your bearded dragon can seem like a daunting task. However, with a little bit of research and some patience, you can make a beautiful and functional terrarium that your pet will love. In this article, we’ll provide a step-by-step guide to building the perfect wooden enclosure for your bearded dragon.
Why a Wooden Enclosure is Best
Wooden enclosures are popular among reptile owners for several reasons. The first reason is that they provide excellent insulation, which helps maintain a stable temperature and humidity level. Bearded dragons are native to the arid regions of Australia, so they require a warm and dry environment to thrive. A wooden enclosure can help you achieve this by allowing you to regulate the temperature and humidity.
Another benefit of a wooden enclosure is that they can be customized to your liking. With a little bit of creativity, you can create a unique and attractive space for your pet that reflects your personal style. Finally, wooden enclosures are generally more affordable than glass or acrylic terrariums, making them a great option for beginners on a budget.
Step-by-Step Guide to Building a Wooden Enclosure
Materials
The first thing you’ll need to build your wooden enclosure is the right materials. Here’s a list of what you’ll need:
- Plywood
- 2x4 boards
- Screws and nails
- Screwdriver
- Saw
- Measuring tape
- Sandpaper
- Varnish or sealant
Step 1: Planning Your Design
The first step in building your wooden enclosure is to plan your design. Think about how big you want the enclosure to be, and how you want to customize it. You’ll also need to decide how many doors and windows you want, and whether you will include any decorations or furniture.
Step 2: Cutting the Wood
Once you’ve planned your design, you can start cutting the wood. Use a saw to cut the plywood and 2x4 boards to the desired size. Be sure to sand the edges of the wood to avoid splinters or roughness.
Step 3: Assembling the Enclosure
Now it’s time to assemble the enclosure. Use screws and nails to attach the 2x4 boards to the plywood. Make sure to leave openings for doors and windows if you’re including them. You’ll also want to attach any decorations or furniture at this point.
Step 4: Varnishing and Sealing
Once you’ve assembled your enclosure, it’s important to varnish or seal it to prevent moisture damage. You can use varnish or any other sealant that’s safe for reptiles. Allow it to dry completely before adding your pet.
Tips for Maintaining Your Wooden Enclosure
Building a wooden enclosure is just the first step in creating a comfortable and healthy habitat for your bearded dragon. Here are some tips for maintaining your enclosure:
- Clean the enclosure regularly to prevent the buildup of bacteria
- Use a hygrometer and thermometer to monitor the temperature and humidity levels
- Provide a basking spot for your bearded dragon to regulate their body temperature
- Use reptile-safe substrate like coconut coir or reptile carpet
- Check and replace UVB lights regularly
- Create a feeding and watering schedule to maintain your pet’s health
Conclusion
Building a wooden enclosure for your bearded dragon is a fun and rewarding experience. With the right materials and a little bit of creativity, you can create a habitat that’s perfect for your pet’s needs. Remember to maintain your enclosure, and always seek advice from a veterinarian if you have any concerns. Happy building!


