Creating a Bearded Dragon 3D Model: A Guide for Beginners
Introduction
Bearded dragons are fascinating creatures that many people keep as pets, and creating a 3D model of one can be a fun and rewarding project. In this beginner’s guide, we’ll take you through the steps of creating a bearded dragon 3D model using popular 3D modeling software. Whether you’re a seasoned modeler or just starting out, this guide will provide you with everything you need to create your own 3D model of this magnificent reptile.
Step 1: Choose Your 3D Modeling Software
The first step in creating a bearded dragon 3D model is to choose your 3D modeling software. There are many options available, including Blender, Maya, Zbrush, and more. For beginners, we recommend starting with a more user-friendly program such as Tinkercad or Sculptris. These programs are free and easy to use, making them perfect for beginners.

Step 2: Gather Reference Images
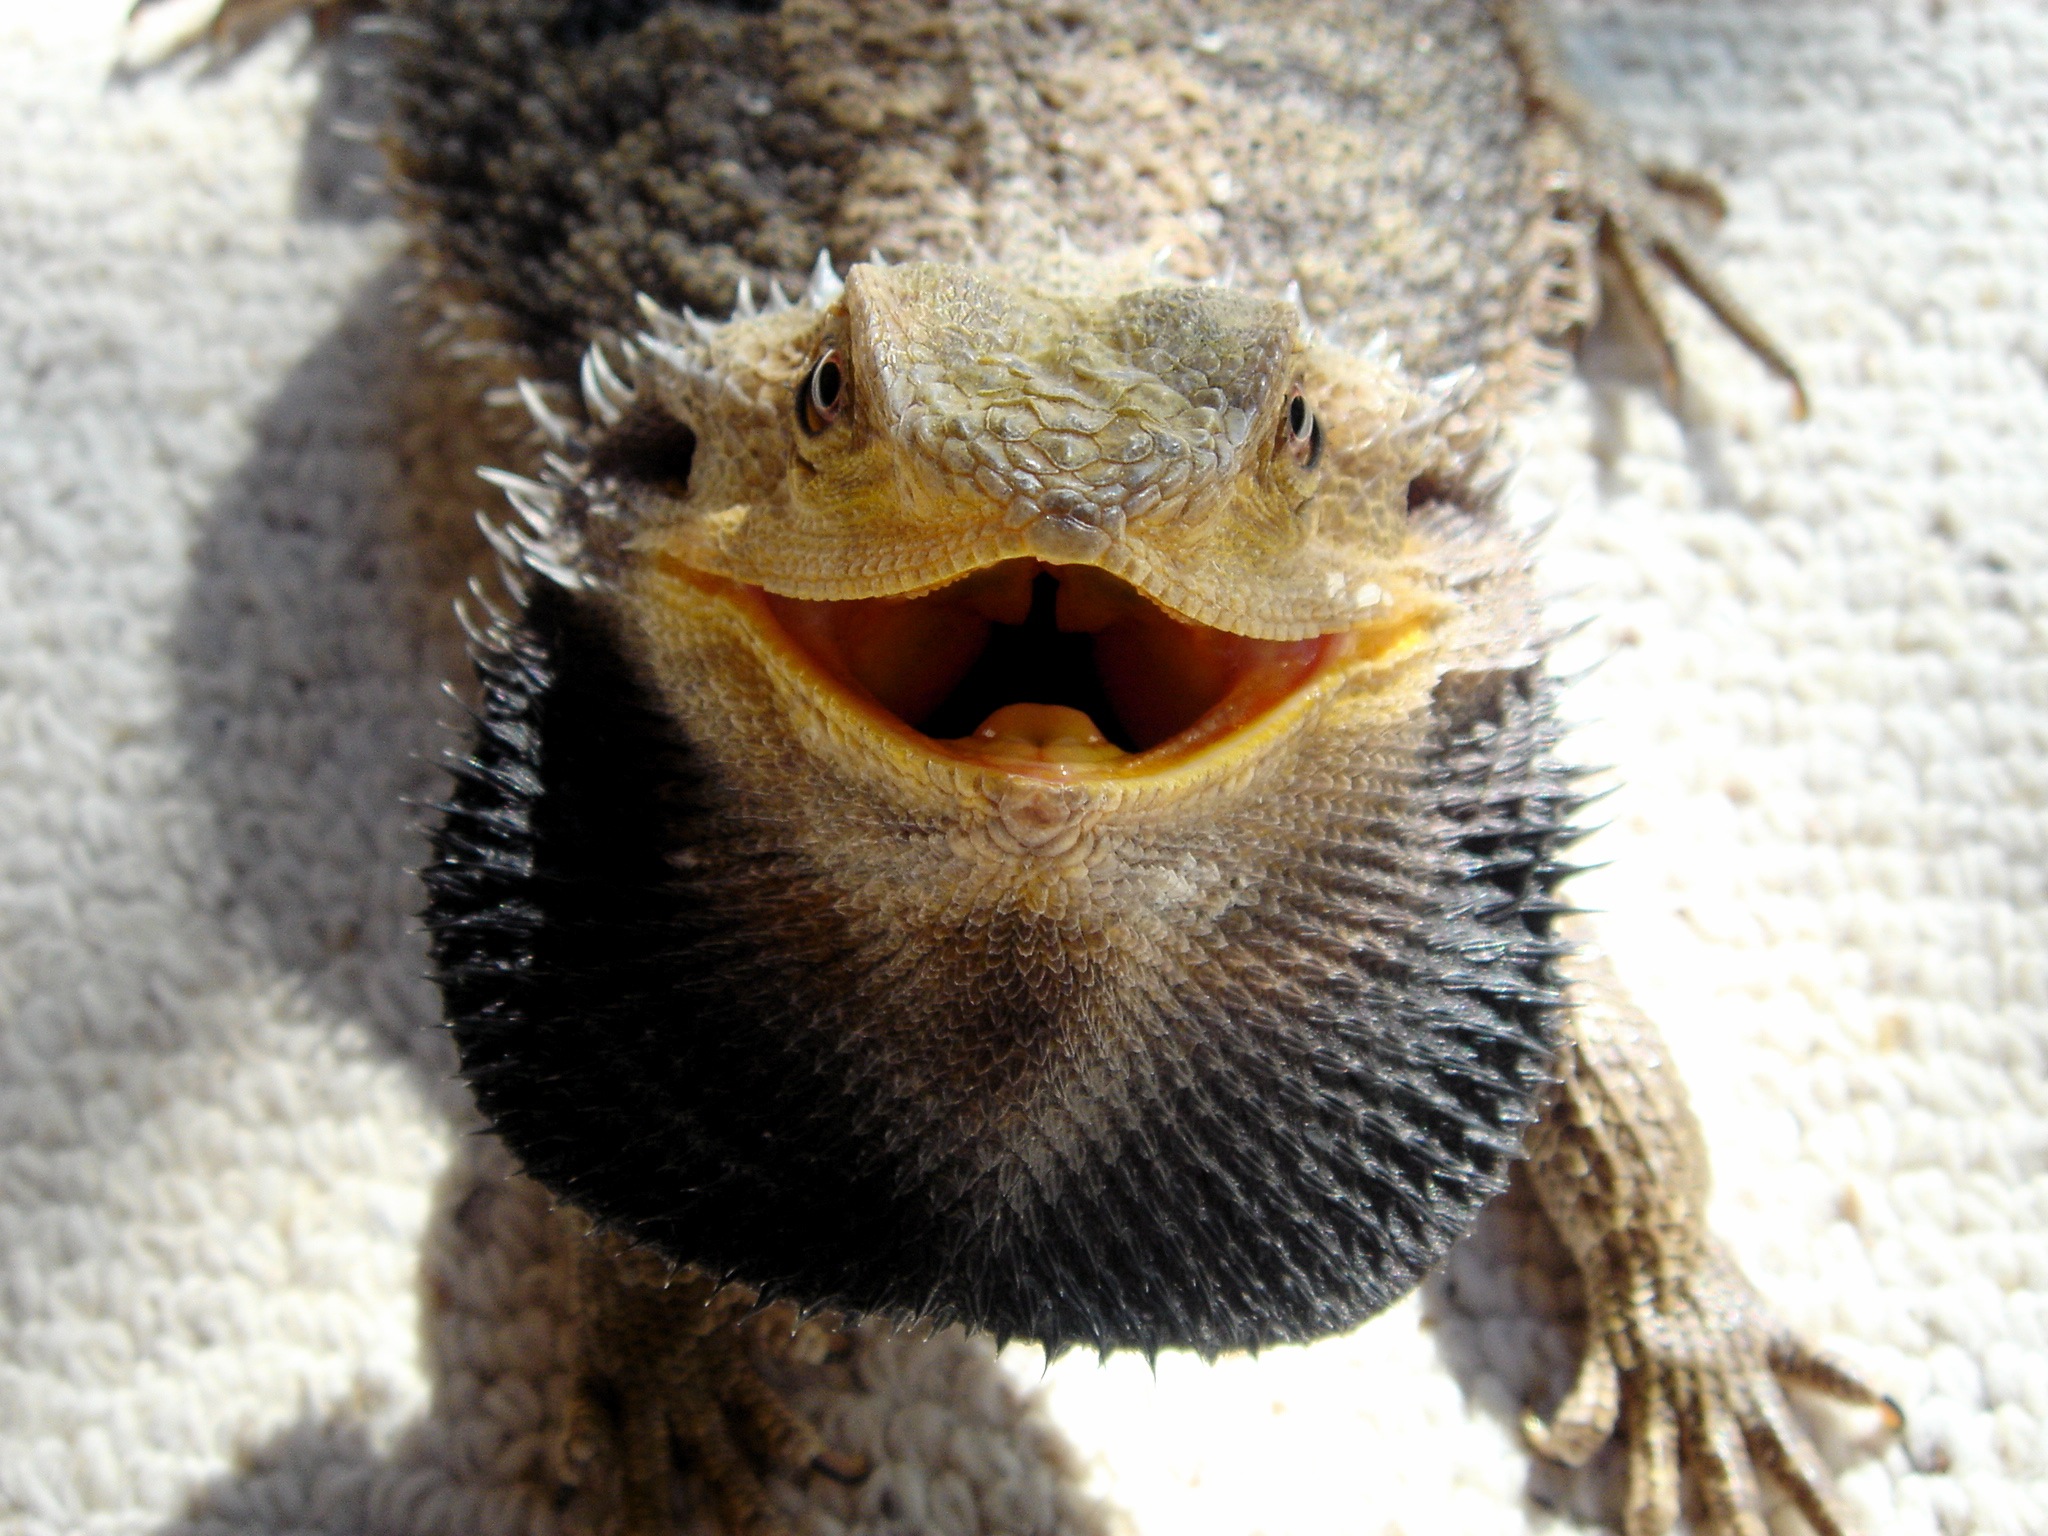
The next step is to gather reference images of bearded dragons. These images will help you create a more accurate 3D model. You can find reference images on the internet, in books, or by taking your own photos. We recommend using a variety of images to get a complete understanding of the bearded dragon’s anatomy.

Step 3: Create a Basic Shape
Once you have your reference images, it’s time to start creating your 3D model. Begin by creating a basic shape that resembles the overall shape of a bearded dragon. Keep in mind that this shape will be refined and adjusted as you move forward, so don’t worry too much about getting it perfect at this stage.

Step 4: Refine the Shape
With your basic shape in place, it’s time to start refining it to look more like a bearded dragon. This includes adding details such as the arms, legs, head, and tail. This is where your reference images will come in handy. Use them to guide you as you add each detail to your model.

Step 5: Add Texture and Color
Now that your bearded dragon 3D model is taking shape, it’s time to add texture and color. This will give your model a more realistic look. You can use a variety of techniques to add texture and color, including painting directly onto the model, using UV maps to apply textures, or using a 3D painting program. Experiment with different techniques to find the one that works best for you.

Step 6: Final Touches
Once you’re happy with your bearded dragon 3D model, it’s time to add final touches such as lighting and camera angles. This will help showcase your model in the best possible way. Experiment with different lighting setups and camera angles to find the ones that make your model look its best. And don’t forget to save your work!
Conclusion
Creating a bearded dragon 3D model can be a fun and rewarding project, especially for beginners. With the right 3D modeling software and reference images, anyone can create a stunning model of this fascinating reptile. So go ahead and give it a try - you might just discover a new hobby!