DIY Bearded Dragon Tank: How to Build Your Perfect Enclosure
Introduction
Bearded dragons are popular pets because they are docile and have unique personalities that make them great companions. However, pet owners face a major challenge in providing an ideal environment for their bearded dragon to thrive. A bearded dragon tank must simulate their natural environment while providing enough space to roam and express their natural behavior. In this guide, we will take you through the process of building a DIY bearded dragon tank from scratch. This guide is perfect for beginners as we will provide a step-by-step approach that anybody can follow.
Materials Required
- Plywood sheets
- Wood screws
- 2x4 wooden planks
- Glass panes
- Silicone adhesive
- Hinges
- Paint
- Sandpaper

Step-by-Step Guide
Determine the Size of the Bearded Dragon Tank
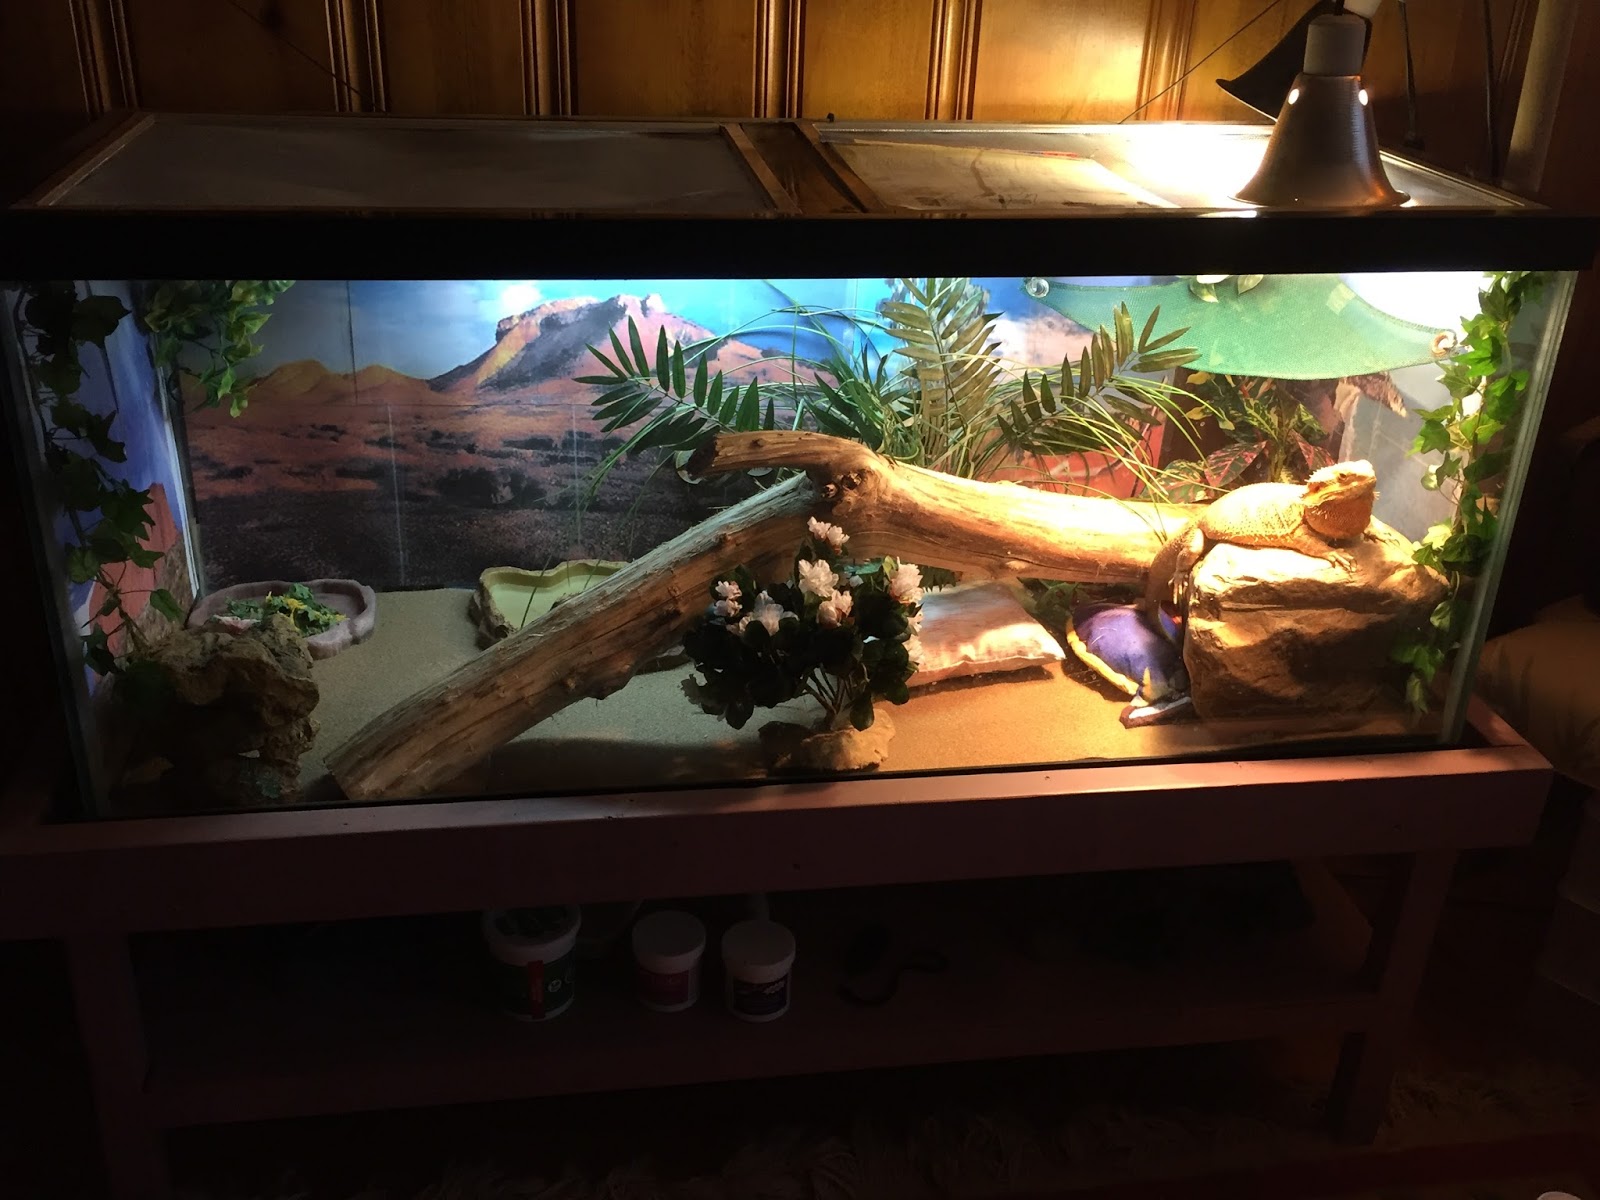
Before you start building the bearded dragon tank, you need to determine the size of the tank. The ideal size would be 4 feet long, 2 feet high, and 2 feet wide. This size offers enough room for a bearded dragon to roam and live comfortably.

Cut the Plywood Sheets
Once you determine the size of the tank, cut the plywood sheets to the appropriate size using a circular saw. You will need 5 plywood sheets for the sides, back, and bottom of the tank.

Screw the Wooden Planks Together
Next, you need to screw the wooden planks together to form the frame of the tank. For a 4 x 2 x 2 feet tank, you need 8 2x4 wooden planks. Once you have joined them together, you can add diagonal supports to make the structure more robust.

Attach the Plywood to the Wooden Frame
Attach the plywood sheets to the wooden frame using wood screws. First, attach the sides to the back panel, then the front panel, and finally, the bottom panel. Ensure they are securely attached before moving to the next step.

Install the Glass Panes
Now it’s time to install the glass panes. Measure the dimensions of the front panel and order the glass panes with those dimensions. Once the glass panes are delivered, apply the silicone adhesive to the wooden frame, place the glass in place, and hold it in place with duct tape until the adhesive dries. Repeat this process with the side panel glass panes.

Install the Lights and Heating Equipment
Before installing the lighting and heating equipment, paint the tank with a safe and non-toxic paint to protect the plywood from moisture. Once dry, install the heating pad on the bottom of the tank and connect it to a thermostat. For the lighting, install a UVB lamp and a basking lamp at opposite ends of the tank. These lamps offer the needed heat and light that simulate the bearded dragon’s natural environment. Add a timer to regulate the lighting.

Add Substrate and Furnishings
The last step is to add substrate and furnishings that mimic the bearded dragon’s natural environment. Add a layer of reptile carpet or reptile sand on the bottom of the tank but avoid loose substrates such as pebbles or sand as they can cause impaction. Add climbing structures, basking logs, and hideouts to provide opportunities for exercise and climbing.

Conclusion
Building a DIY bearded dragon tank is easy and affordable. It’s also a unique way of creating a custom enclosure that meets your bearded dragon’s needs. This guide provides a step-by-step process on building your tank from scratch. Following these steps combined with your creativity, you can create a safe, comfortable, and stimulating habitat for your pet bearded dragon.
