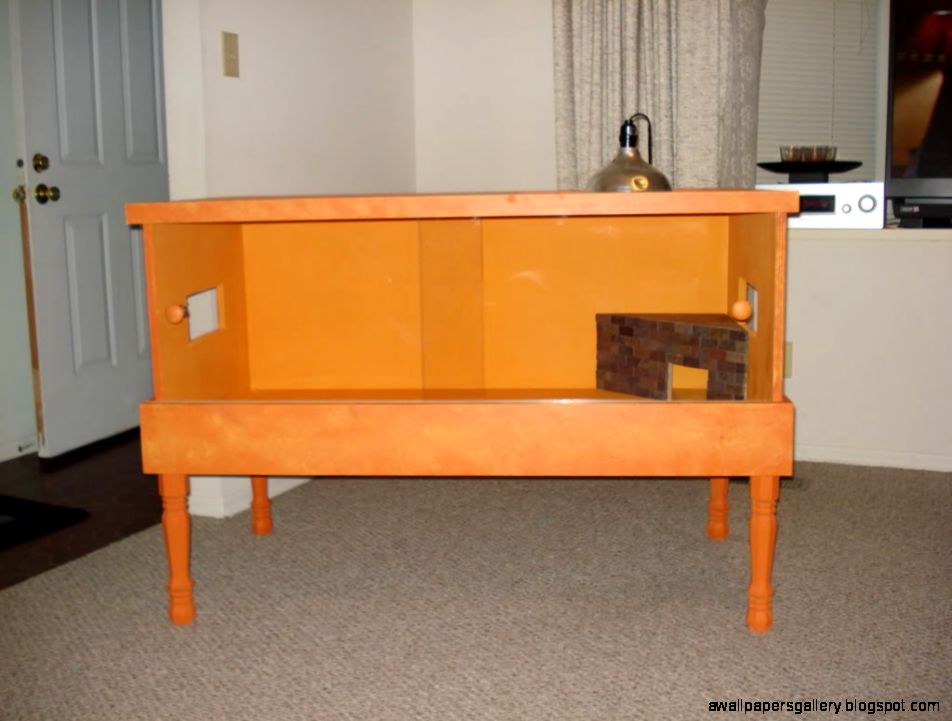
Step-by-Step Guide: How to Build Your Own DIY Bearded Dragon Cage
Introduction
Bearded dragons are fascinating pets that require a lot of care and attention. One of the most important things you need to provide for your bearded dragon is a cage or enclosure that mimics their natural habitat. While buying a pre-made cage seems easy and convenient, it is also expensive. Building your own DIY bearded dragon cage is a great way to save money and create a personalized space for your pet. In this blog post, we’ll guide you through the step-by-step process of building your own DIY bearded dragon cage.
Materials You Need
Before we dive into the steps, let’s check out the necessary materials you need to build your DIY bearded dragon cage. Some items you might already have, while others you’ll need to purchase.
- 4x8 foot sheet of plywood
- 2x4s
- Screws
- Table saw or circular saw
- Sander or Sandpaper
- Plexiglass
- Hinges
- Latches
- Heat lamp
- UVB light
Step-by-Step Instructions
Building your own bearded dragon cage might seem daunting at first, but with this step-by-step guide, you’ll have a custom-made enclosure in no time!
Step 1: Planning
Before you start building, it’s essential to plan out what you want your cage to look like. Decide on the dimensions of the cage, taking into consideration the size of your bearded dragon and the space you have available in your home. Sketch out the design and make a list of all the materials you’ll need.

Step 2: Cutting the Wood
Once you have your plan in place, it’s time to start cutting the wood. Use a table saw or circular saw to cut the plywood into the desired size for the bottom and sides of the cage. Cut the 2x4s to the right size, ensuring they fit snugly inside the plywood base. This will create a sturdy frame for the cage.
Step 3: Assembly
Once you have all the pieces of wood cut, it’s time to start assembling the cage. Start by attaching the 2x4s to the bottom plywood sheet, forming the frame for the cage. Then, attach the side panels to the frame, using screws to secure everything in place. Sand the edges of the wood to remove rough edges or splinters and wipe everything down with a damp cloth when done.

Step 4: Adding Doors and Windows
To make the cage accessible, you’ll need to add doors or a window. Use a jigsaw to cut out the sections where you want to add doors or windows, depending on your design. Cut a piece of plexiglass to fit the opening and screw it in place. Add hinges and latches to create a secure entry and exit point for your bearded dragon.

Step 5: Lighting and Heating
Bearded dragons need proper lighting and heating to thrive. Add a heat lamp to one side of the cage and a UVB light to the other side. This will create a temperature gradient for your bearded dragon to move between, mimicking their natural habitat. Make sure the lights are properly installed and the temperature is consistent throughout the cage.
Final Thoughts
Building your own DIY bearded dragon cage can be a fun and rewarding experience, and it doesn’t have to break the bank. With a little bit of planning and elbow grease, you can create a custom-made enclosure that meets all the needs of your bearded dragon. Follow these easy steps, and you’ll have a unique and personalized home for your pet in no time!

