The Ultimate Guide to Building a Bearded Dragon Cage: DIY Tips and Tricks
Introduction: Why Build a Bearded Dragon Cage?
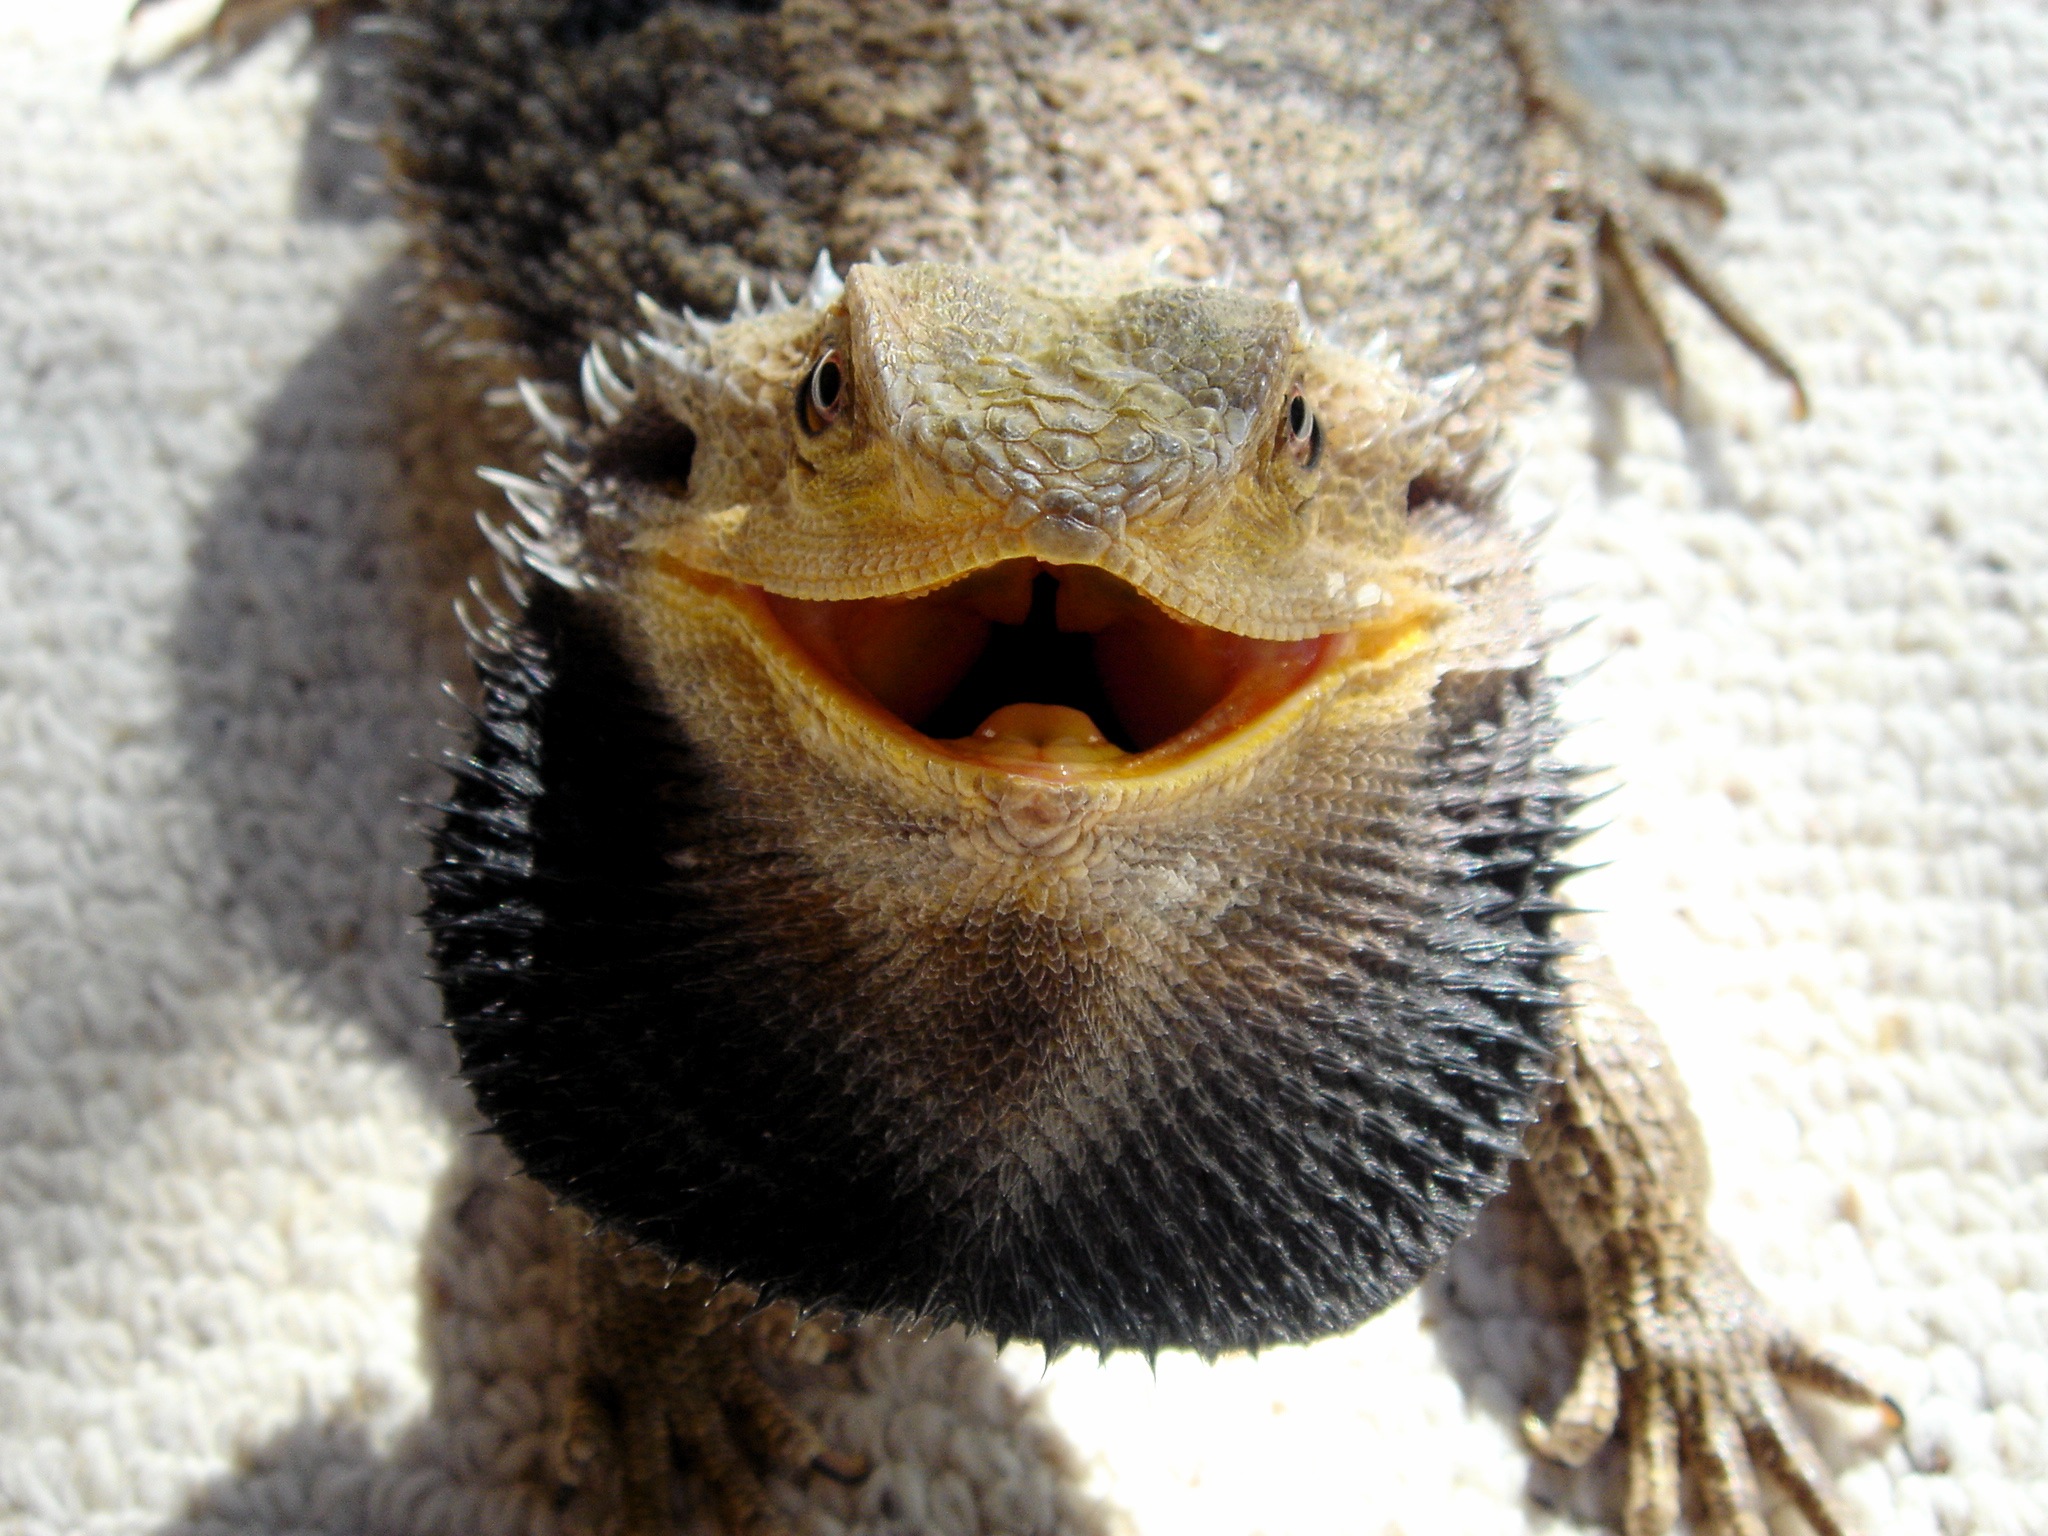
Bearded dragons are among the most popular reptile pets because of their friendly temperament and ease of care. However, to keep your beardie healthy and happy, you need to provide it with a spacious and properly equipped living area. While you can buy pre-made cages, building your own bearded dragon cage can be a rewarding and cost-effective endeavor. In this article, we’ll show you how to build a bearded dragon cage from scratch, including important considerations, materials, and step-by-step instructions.
Step 1: Planning Your Bearded Dragon Cage
Before diving into the construction process, it’s crucial to have a solid plan for your bearded dragon’s cage. Here are some important factors to consider:
- Size: Adult bearded dragons can grow up to 24 inches long, so you’ll need a minimum of a 40-gallon tank or equivalent custom size cage. A larger cage is always better, as it allows your beardie to stretch out, climb, and explore. Aim for a height of at least 18 inches for the enclosure.
- Type of Enclosure: Starter kits are tempting and may seem easier, but customizing your own enclosure will give flexibility, tailor-fit the cage to your preferences and produce the best conditions that aims to closely mimic bearded dragon’s wild habitat.
- Materials: There are two materials you can choose from in building a bearded dragon cage- wood or PVC panels. Both materials have their pros and cons. PVC being for convenience, and wood with a lot of room for customization.
- UVB lighting: UVB lighting is necessary for your bearded dragon’s health, and enclosure type or choice of material will affect how much UVB lighting setup you’ll need.
![[bearded dragon cage plan]](https://i.ytimg.com/vi/0pMZn7Xz8qQ/hqdefault.jpg "[bearded dragon cage plan]")
Step 2: Materials and Tools Needed
Once you have a solid plan for your bearded dragon cage, it’s time to gather the necessary materials and tools. Here are some items you’ll need:
- Materials: Plywood, PVC panel, acrylic glass sheets, silicone sealant, screws, hinges, latches, reptile carpet liner, heat lamp, under-tank heating mat, thermometer, linoleum tiles.
- Tools: Jigsaw, power drill, saw blade, screwdriver, measuring tape, silicone gun, pry bar, leveler, orbital sander, paintbrushes.
![[bearded dragon cage supplies]](https://3.bp.blogspot.com/-qa8A9Oj38YU/TVXzw7qSIKI/AAAAAAAAACg/rj5Lbw6gQak/s1600/IMG_2530.JPG "[bearded dragon cage supplies]")
Step 3: Building Your Bearded Dragon Cage
Now let’s get started on building your bearded dragon cage! Here are the step-by-step instructions:
Cut the Panels
Using your jigsaw and saw blade, cut out the necessary panels of your chosen material according to your cage plan. Ensure that the panels are smooth and even, and snag any rough areas with an orbital sander.
![[cutting panels]](http://3.bp.blogspot.com/-wlLTBy1u0eU/To8GYY-MiEI/AAAAAAAAAVc/jiIo-32UD9s/s1600/suntuf-seal-detail.jpg "[cutting panels]")
Assemble the Sides and Door
Join the side panels to the base panel and secure the walls using screws. Add PVC trims around the door opening for a polished look, and then attach durable hinges and latches for convenience.
![[assembling sides]](https://1.bp.blogspot.com/-AM3qI4v9KMM/TiznZhV6FcI/AAAAAAAAHrI/N6Z00RT8ll0/s1600/DSC04296.JPG "[assembling sides]")
Install the Acrylic Glass Sheet
Incorporate your acrylic glass sheet into your cage plan. Cut the sheets according to size and attach them to the walls with silicone sealant. Apply sealant on the edges of the glass for extra insulation.
![[installing glass sheet]](http://3.bp.blogspot.com/-CpqaLzLj9Ls/Ua27xt6kAvI/AAAAAAAAAe0/TKqy_StWN3Y/s1600/Pictures-of--fiberglass-sheets.jpg "[installing glass sheet]")
Construct the Ceiling and Flooring
Using plywood or PVC panel, form the ceiling or cover of your build. Secure the ceiling, add light slots, and ventilation holes or fans for circulation. For the flooring, use a reptile carpet or linoleum tiles to avoid harboring harmful bacteria and ensure easier cleaning.
![[flooring and ceiling]](https://4.bp.blogspot.com/-pObfKOpHExY/VrgFcsd_0xI/AAAAAAAAAVI/tPJ2yVqDGfg/s1600/cheap%2Blaminate%2Bceiling.jpg "[flooring and ceiling]")
Install Electrical and Heating Systems
For optimum heat regulation, use a heat lamp with a basking spot temperature of 95-110 degrees Fahrenheit. Add an under-tank heating mat, controlled by a thermostat with temperature and humidity levels, on one side of the flooring, provide two zones temperature wise that the dragon can choose from.
![[electrical and heating systems]](https://i.ytimg.com/vi/B7eAiiKUk2Y/maxresdefault.jpg "[electrical and heating systems]")
Step 4: Final Touches
Once the construction work is done, it’s time for the finishing touches. Clean your custom bearded dragon cage thoroughly; ensure all screws and fasteners are tightened properly. Make sure you have checked the humidity and temperature levels within the enclosure. Turn on your basking lamp, and run the lamp for a few days to check if the temperature remains how you intend it to be before adding the bearded dragon to his new living space.
![[bearded dragon cage finished]](https://3.bp.blogspot.com/-B8jVJlHSTQs/XH-KwHpJq2I/AAAAAAAAG6E/U1NUoo4-jfodppTgXa2ocR6xl6RpFG2AgCHMYCw/s1600/bearded-dragon-tank-setup-ideas-bilder-ideen-with-cage.jpg "[bearded dragon cage finished]")
Conclusion
Building a bearded dragon cage from scratch may seem daunting, but with the proper guide and materials, it can be accomplished easily with confidence. Not only it saves you money, but it also provides a unique and healthy environment for your pet. Remember that your beardie deserves the best, so providing him with a spacious, clean, and adequate home is part of that commitment. Happy building!